Green screen technology also known as chroma key, is a visual effects technique that allows filmmakers and photographers to replace a solid-colored background typically green or blue with a different image or video during post-production. This technology is widely used in film, television production, photography, and virtual meetings for seamless background replacement.

What Is A Green Screen?
A green screen is a vibrant backdrop commonly used in filmmaking, photography, and graphic design. It serves as a background that can easily be replaced with other images or videos through computer software. This technique enables editors to insert different backgrounds behind the subjects, creating the illusion that they are in an entirely different location or environment.

Steps to Remove Green Screen in Photoshop
Import Your Image
Open Adobe Photoshop and import the image with the green screen background.
Go to File > Open, select your image file, and click Open.
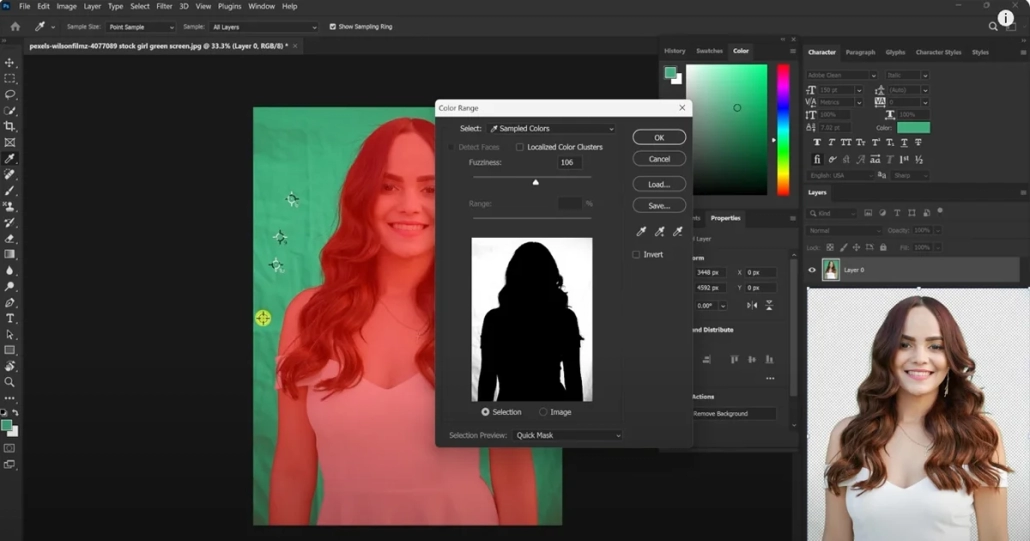
Select the Green Screen
Now, you need to tell Photoshop which areas of the image to remove.
Choose the Magic Wand Tool from the toolbar on the left (or press W on your keyboard).
Click anywhere on the green background. The tool will automatically select the majority of the green area.
If the entire background isn’t selected, hold Shift and click on the unselected green areas to add them to the selection.
Refine the Selection
To ensure the best results, it’s essential to refine the selection, especially around the subject’s edges like hair or fine details.
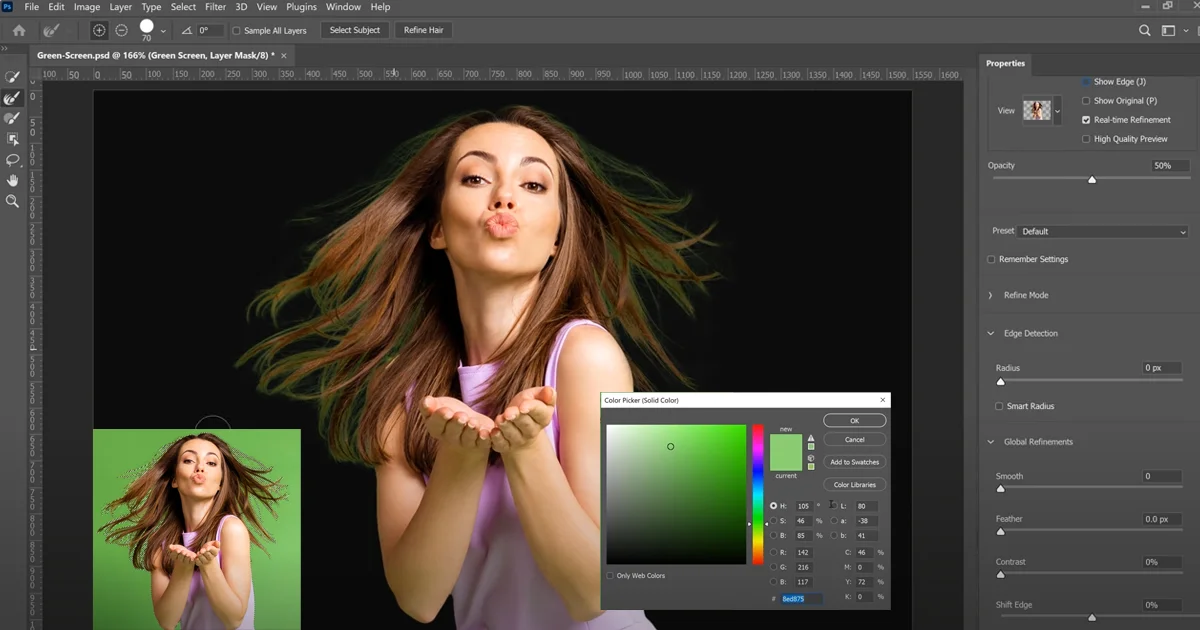
With the selected green area, go to the top menu and click Select > Select and Mask.
This opens the Select and Mask workspace where you can fine-tune the edges.
Use the Refine Edge Brush Tool to paint around the subject’s edges. This tool helps detect areas like hair or fur and ensures they blend well with the new background.
Adjust the Radius under the Edge Detection section to control how sensitive the edge refinement is.
Experiment with Smooth, Feather, Contrast, and Shift Edge settings to further clean up the selection.

Remove the Green Background
Once you’re satisfied with your selection
In the Select and Mask workspace, change the Output to Layer Mask and click OK. This will mask out the green background, leaving only your subject.
Alternatively, you can simply hit Delete to remove the green screen after the selection is made if you don’t want to use a mask.
Add a New Background
Now that the green screen is removed, you’re free to add a new background.
Open your desired background image (File > Open) or create one.
Drag the new background layer beneath your subject’s layer in the Layers panel.
Use the Move Tool (V) to position your subject and background appropriately.
Adjust the Composition
Fine-tune the composition so your subject integrates smoothly with the new background.
You may need to match the lighting or color tone of the subject and background.
Go to Image > Adjustments and use tools like Brightness/Contrast, Hue/Saturation, or Color Balance to ensure the subject blends naturally.
If needed, apply additional shadow or lighting effects by using the Brush Tool or adding layers for more depth.
Save Your Work
When you’re happy with the final result, it’s time to save your image.
Go to File > Save As to save your work in Photoshop format (.PSD) to keep the layers intact for future editing.
To export your final image, use File > Export > Export As, and choose a format such as PNG or JPEG.
Tips for Green Screen Removal
Make sure to always refine the edges carefully, especially around hair or transparent objects. This is key to making the subject appear natural with the new background.
Green “spill” can sometimes affect the subject, particularly along edges like hair or fabric. You can correct this by using the Hue/Saturation adjustment layer to desaturate the green tones.
Ensure that the lighting of the subject matches the new background to avoid creating an unnatural look.
Conclusion
Removing a green screen in Photoshop can be seamless when you follow the steps outlined above. Whether working with images or videos, learning this technique will allow you to create professional-quality composites, adding versatility and creativity to your projects. Clipping path services can help you achieve even more refined results if you’re working with complex images or require precision.
