Removing a mannequin from a photo is a process that creates the illusion of a product or cloth where it seems an invisible model wears a cloth. It helps to focus on the product only rather than anything else. It is called the ghost mannequin effect. With a group of steps professionals successfully remove the mannequin from a photo and present them. In this blog, you will get step-by-step guidelines on how to remove a mannequin from a photo. So let’s get started.

What is Ghost Mannequin Photography?
Ghost mannequin photography is a technique used in product photography specifically in clothing and accessories photography. It includes photographing a product on a mannequin in the first steps. After that remove the mannequin in the post-processing to create the illusion that an invisible person wears the item. This Ghost mannequin photography is very popular in e-commerce image editing. Businesses that highly rely on digital marketing to market their products need to present their products attractively. So they utilize Ghost mannequin services to present their product realistically.

What is the Ghost Mannequin in Product Photography?
In product photography, a ghost mannequin refers to the final result of a series of images that are edited together. Together they create the illusion of a floating garment. In this process, the photographer takes shots from multiple angles like front, back, and inside. In the next step, the images are combined in post-production by using Adobe Photoshop software. Then they remove the mannequin and blend the different parts of the product for a smooth finish.
Why is the Ghost Mannequin Important?
Enhance Visualization
The Ghost mannequin effect gives your product a clean, polished look. It makes the product very attractive and professional at the same time. It removes any imperfections and highlights the shape, fitness, and design of the product.
Lifelike Presentation
The removed mannequin from the photo shows how it actually would look when worn by a person. This realistic presentation will attract more customers to the products.
Increase Sales
A high-quality image with a ghost mannequin effect can give you more engagement in product advertisements. You will get more conversations in the comment box and inboxes. Which directly generates leads for sales.
Consistency Across Products
The ghost mannequin effect helps to present a uniform presentation of a group of products. It is important for brand identification and makes a wonderful shopping experience for customers.
Budget-Friendly
Compared to hiring real models, using a mannequin instead is more cost-effective. Brands that normally have large inventories can consider using mannequins with the ghost mannequin effect to minimize cost. You can learn how to remove a mannequin from a photo or consider taking service from professionals.

How to Create the Ghost Mannequin Effect
Prepare the Product and Mannequin
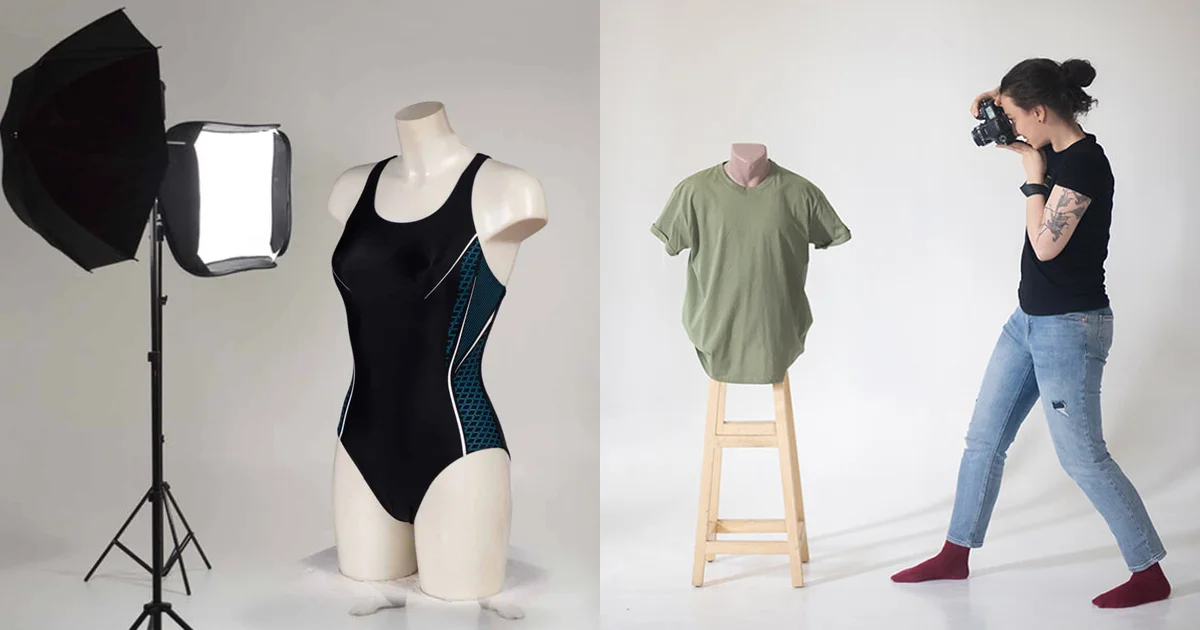
First, prepare the product and mannequin for the photoshoot. Carefully select a mannequin that closely matches the shape and size of your product. Now dress up the mannequin and make sure the product is perfectly fitted and wrinkle-free. To get a balanced image keep your product in a central position.
Photograph the Product from Multiple Angles
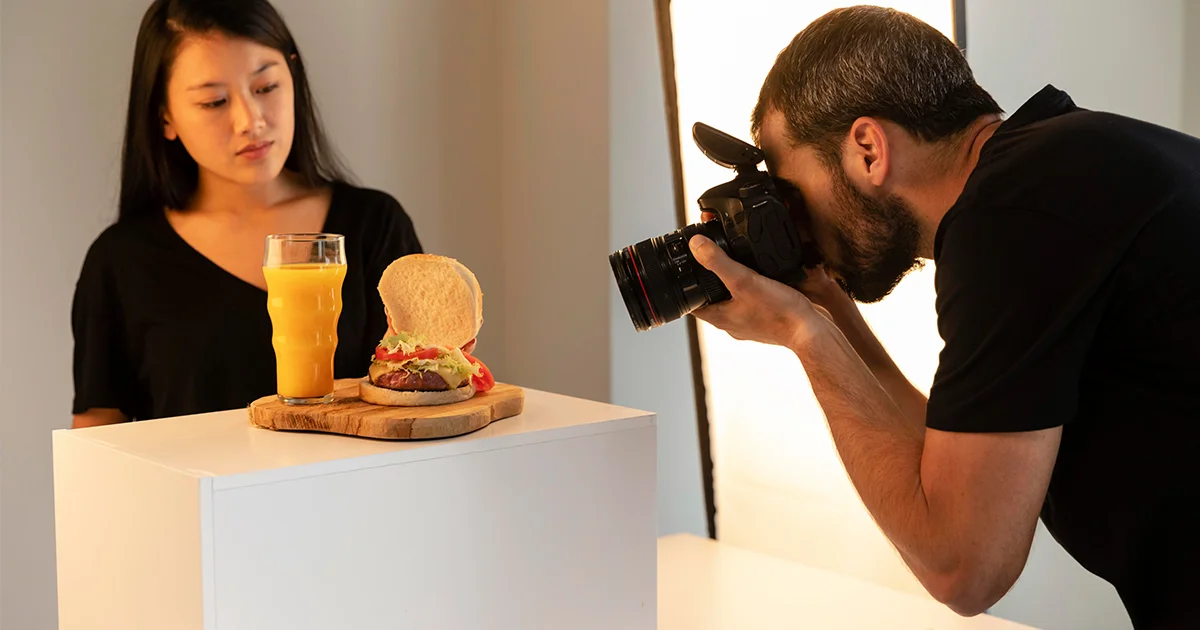
The second step is to photograph the product from several angles to create a pleasing ghost mannequin effect. You can start with the front view then the back view and other sides. Finally, capture the inside of the product like the inner collar or label area to use in the post-production process. Make sure you are using appropriate lighting during your photoshoot to make the editing process smoother.
Edit Your Images
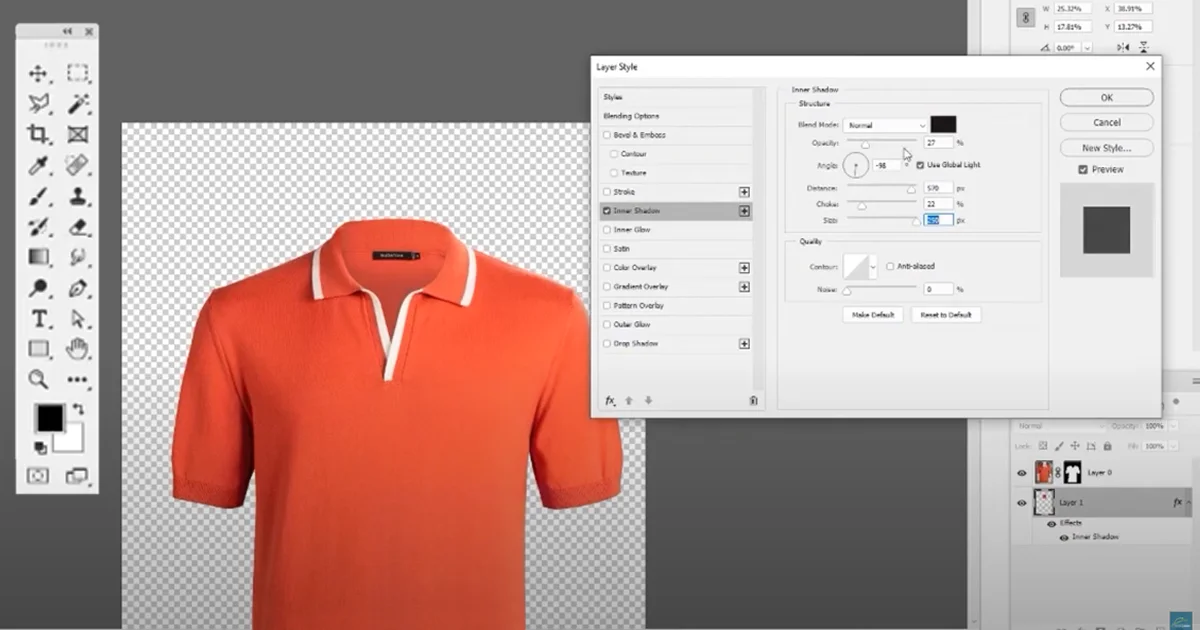
Once you are done with your photography and get all the necessary images now edit them. Adobe Photoshop is suitable software for creating ghost mannequin effects. Here are the steps for editing your photos:
Step 1: Open the images: Open the front and back shots of the product in Photoshop.
Step 2: Remove the Mannequin: To select and remove the mannequin from the photo use the Pen tool or Magic Wand Tool. This will remove in a very sharp manner and leave you with just the product. Apply the same process for the back image.
Step 3: Add Inside Details: To get a more realistic effect add the inside details of the product. Like the collar or label area you captured. This step is very important for creating the 3D outlook that the ghost mannequin effect is known for.
Step 4: Clear the Edges: Now zoom in on your product to refine the edges. Carefully check and ensure there are no visible remnants of the mannequin. Apply the Clone Stamp Tool or Healing Brush Tool to remove any imperfections.
Step 5: Adjust the Lighting and Color: Finally, balance the color and adjust the lighting level to match the original images. It will give the product a professional 3D appearance.
Final Touches and Export: As you completed the editing process now review the images. Take some time and observe. Zoom in and out to check for any missed details or imperfections. If necessary make any further adjustments to get a flawless result. Once you are happy with the result, export your image in the desired format like JPEG or PNG.
Final Thought
The ghost mannequin effect is a powerful tool in product photography that enhances the visualization of your products. By following today’s discussion on how to remove a mannequin from a photo, you can remove a mannequin from a photo easily. It will help you to minimize costs and boost your sales.